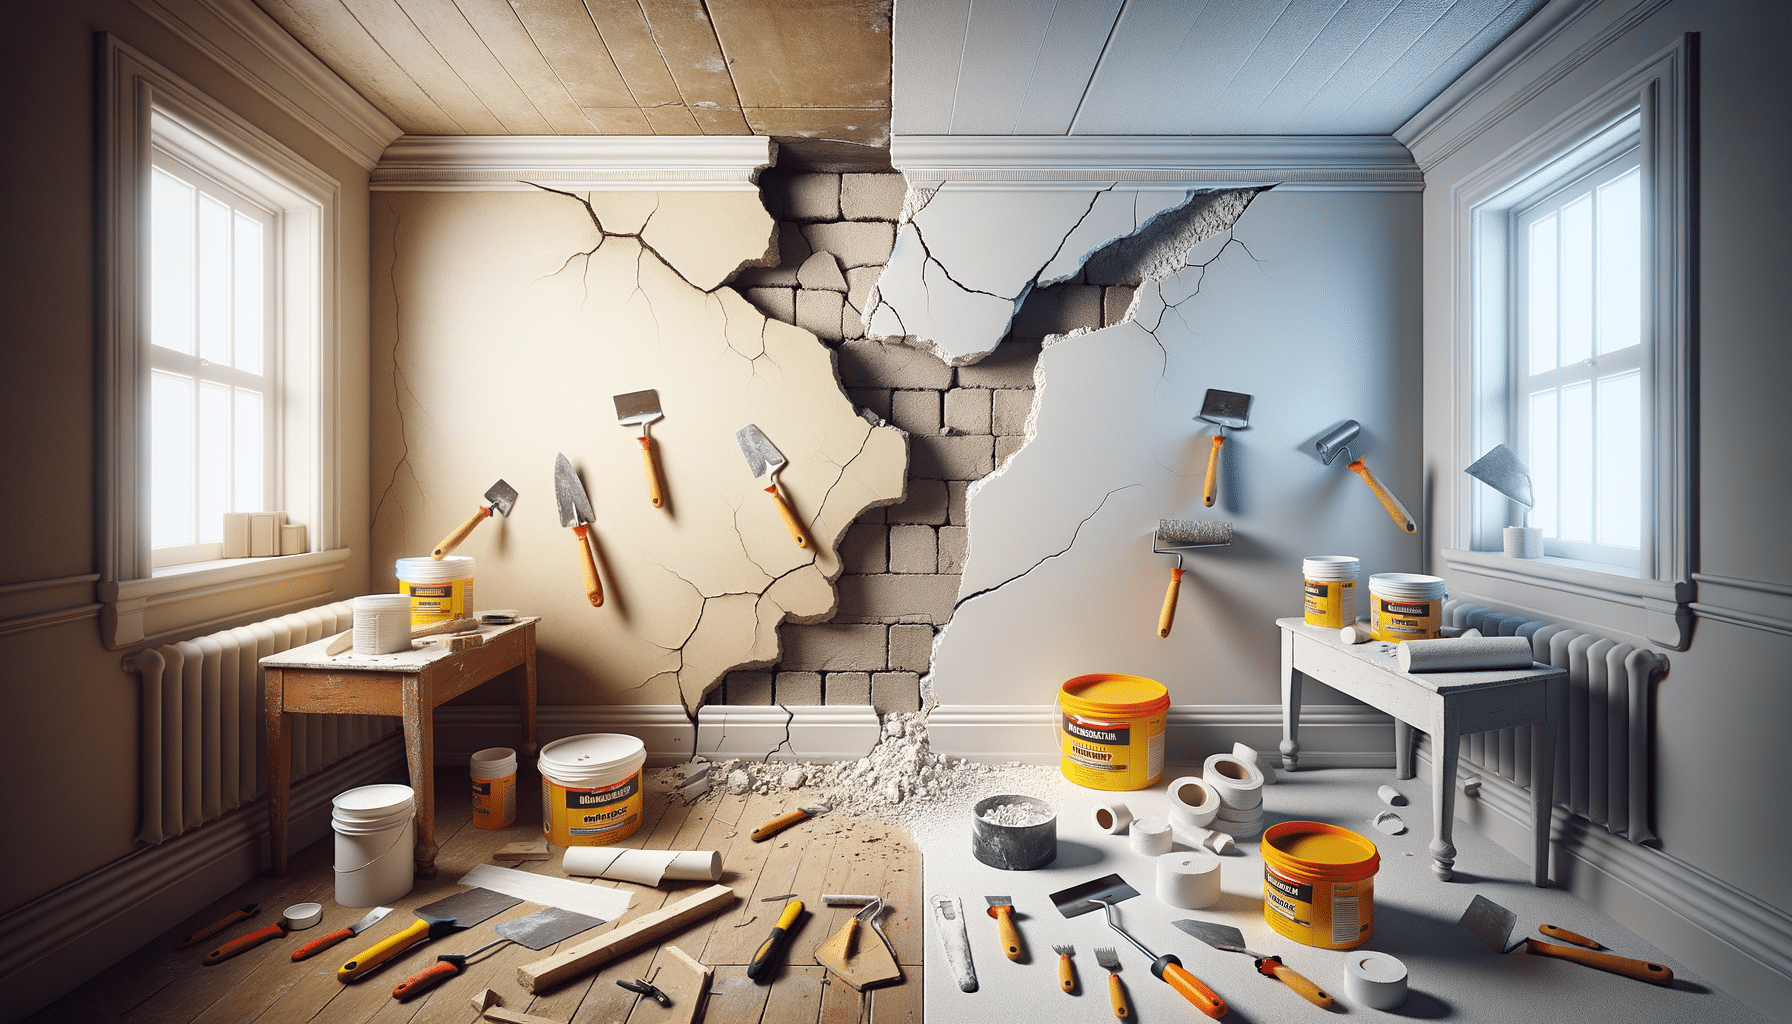
How to Fix Ceiling & Wall Cracks Without Repainting Everything
Introduction to Wall & Ceiling Crack Repair
Cracks in walls and ceilings are a common issue faced by homeowners and can arise from various factors such as settling foundations, temperature fluctuations, or even moisture. Although they might seem like a minor aesthetic problem, if left untreated, they can lead to more severe structural damage. This article will guide you through the process of addressing these cracks efficiently, without the need for a complete repainting job.
Understanding the Causes of Cracks
Before diving into repair methods, it’s essential to understand what causes cracks in walls and ceilings. This knowledge will not only help in effectively repairing them but also in preventing future occurrences. Common causes include:
- Structural Movement: As buildings settle over time, minor shifts can lead to cracks.
- Temperature Changes: Expansion and contraction due to temperature fluctuations can stress materials.
- Moisture Issues: High humidity or leaks can weaken materials, leading to cracks.
By identifying the root cause, you can choose the appropriate repair method and materials, ensuring a long-lasting fix.
Tools and Materials Needed for Repair
To repair wall and ceiling cracks, you’ll need a set of tools and materials. Gathering these in advance will streamline the repair process:
- Filler Compound: Choose a high-quality filler that matches the wall material.
- Putty Knife: Essential for applying the filler smoothly.
- Sandpaper: Used for smoothing the filled area.
- Primer: Prepares the surface for paint touch-ups.
Having the right tools not only simplifies the process but also ensures a professional finish, making the repair virtually invisible.
Step-by-Step Repair Process
Repairing cracks involves several steps, each crucial for achieving a seamless finish. Follow these steps for an effective repair:
- Clean the Area: Remove any loose debris or paint around the crack.
- Apply Filler: Using a putty knife, fill the crack with the compound, ensuring it’s level with the surrounding surface.
- Sand the Surface: Once the filler is dry, sand it down to a smooth finish.
- Prime and Paint: Apply a primer, then touch up with matching paint to blend the repair with the rest of the wall or ceiling.
This method allows for a repair that blends seamlessly with the existing surface, minimizing the need for extensive repainting.
Preventative Measures for Future Cracks
After repairing existing cracks, consider taking steps to prevent future ones. Here are some strategies:
- Regular Inspections: Periodically check for new cracks or changes in existing ones.
- Control Humidity: Use dehumidifiers to maintain stable humidity levels.
- Address Structural Issues: Consult professionals for significant structural concerns.
By implementing these measures, you can reduce the likelihood of cracks reappearing, maintaining the integrity and appearance of your walls and ceilings.
Conclusion
Addressing wall and ceiling cracks promptly is crucial for maintaining the structural integrity and aesthetic appeal of your home. By understanding the causes, gathering the right tools, and following a systematic repair process, you can effectively fix cracks without needing to repaint everything. Additionally, adopting preventative measures can help avoid future issues, ensuring your living space remains in excellent condition.


